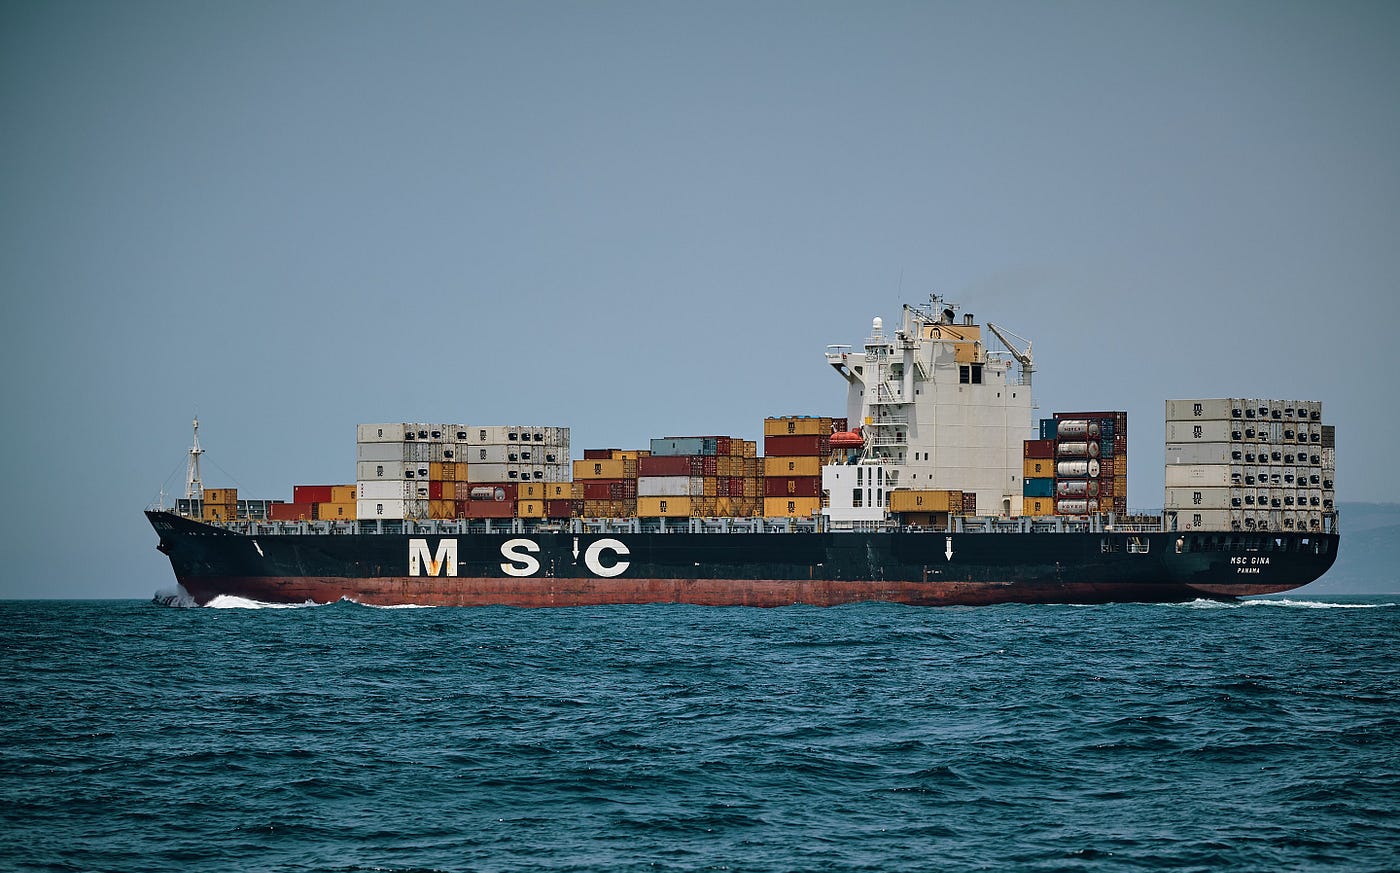
We all know how hard it is to create and maintain virtual machines. The effort to manage these virtual machines increases exponentially with the number of virtual machines we deploy. Docker solves this particular problem and it is very good at it.
What is Docker?
According to Wikipedia, docker is a set of platform as a service products that uses OS-level virtualization to deliver software in packages called containers. Containers are isolated from one another and bundle their own software, libraries and configuration files; they can communicate with each other through well-defined channels.
In simpler words, Docker is a container ship which carries a bunch of containers. Here every container is a virtual machine which generally has it’s own operating system and networking. But, these containers are extremely lightweight and super fast. To know more about docker and how it works I suggest watching this youtube video.
As we now know what is docker let’s see what are the commands we need to get started with Docker.
Commands:
Help
This is the very first command you should know. It gives us the clear description and various options available in docker.
docker --help
You can also use this with other docker subcommands.
docker run --help
Build
We can build a docker image through a docker file. We have to specify the location of the docker file in this command. It can be either a remote git repository or local disk.
docker build https://github.com/docker/rootfs.git
If the file is in local
docker build ../file_path
If the terminal is opened in the same location, you can use something like this.
docker build .
Here dot represents the current folder.
To tag your images with the name you like
docker build -t your_image_name ./file_path
Images
To see the images we built, we have
docker images
The above command displays all the images except intermediatory. To see intermediatory images we have to include all(-a) flag.
docker images -a
The output of the image command looks something like this

To remove or delete an image
docker rmi image_id
Run
Once you build an image it’s time to run it. To run an image, we use the docker run command.
docker run 73184fe7d79e
Here 73184fe7d79e is the image id of one of the images we built.
To run docker in the background also known as detached mode, use ‘-d’ with the run.
docker run -d 73184fe7d79e
To give a name to the container
docker run --name your_container_name 73184fe7d79e
Containers
To list all the running containers
docker ps
To list all the closed and running containers
docker ps -a
To stop the running container
docker kill container_id
Also,
docker stop container_id
If you’re wondering what’s the difference between both, I suggest you to read this article.
To remove a container
docker rm container_id
Port
Port mapping is not considered as basic, yet there is a simple command to connect between host and container.
docker run -p 3000:4000 container_id
Here 3000 is the host port i.e., windows or mac. Port 4000 is the container port. All the traffic in the container port 4000 is routed to host port of 3000. Hence we can listen to http://localhost:3000 for the container traffic in our browser.
Interactive Mode
There are times where you want to enter inside of your container. Either it is to debug or just to see what’s inside. It is possible with this command
docker run -it 73184fe7d79e /bin/bash
On some Linux distributions above command may not work. If that’s the case use this
docker run -it 73184fe7d79e sh
Prune
Prune is nothing but removing everything in the docker. It’s like disk clean up in docker.
docker system prune
The above command removes everything but running container. To remove with running containers, use this
docker system prune -a
Logs
Logs are nothing but the terminal output of the container. To display these logs, we have
docker logs container_id
The above command displays logs of the container at the time of execution. To continuously follow logs of the container use
docker logs -f container_id
These are the docker commands every day we use at work.
Thank you!